

Showing posts with label T-Shirt. Show all posts
Showing posts with label T-Shirt. Show all posts
Friday, July 21, 2017
Woman's DIY Muscle Shirt
Is it just me, or are woman's muscle shirts trending? While cruising Michael's, I snagged this awesome Wonder Woman t-shirt decal for a great clearance price. I knew I wanted a muscle shirt, but I didn't want to just cut the sleeves off a tee and call it a day. I found this tutorial for creating a tank top from an old t-shirt. This tutorial is perfect, you get the comfiness of a t-shirt and the top is sleeveless and slightly fitted like a tank. Best of all...NO SEWING!


Tuesday, July 5, 2016
Harry Potter Spell Shirt
I used Elmer's blue glue and Rit dye to make this super cool, if slightly nerdy Harry Potter inspired shirt. I love all things Harry Potter, checkout my Potter inspired crochet projects!

This project is actually Pinspired. I pinned this dye resist project from Holly Hox and had so many repins and questions about it, I finally decided it was time to test it out myself!
In this tutorial, it specifically says to use the blue gel glue so that's what I used. I've actually seen other tutorials since then where they used regular white school glue. I'm not sure what the difference is, but it looks like they could both work.

This project is actually Pinspired. I pinned this dye resist project from Holly Hox and had so many repins and questions about it, I finally decided it was time to test it out myself!
In this tutorial, it specifically says to use the blue gel glue so that's what I used. I've actually seen other tutorials since then where they used regular white school glue. I'm not sure what the difference is, but it looks like they could both work.
Wednesday, February 4, 2015
100 Days T-Shirt Idea
We are celebrating 100 days of Kindergarten with 100 snowflakes!

So this is my third child going through school and it's the first time there has been a 100 days of school t-shirt request. The teacher suggested we look on Pinterest for t-shirt inspiration and holy cow, there are lots! I wanted something cute and a little girly that my daughter might want to wear again. I figured a winter scene with snowflakes would work great.
- dollar store t-shirt
- dimensional fabric paint
- acrylic paint
- fabric medium
.jpg)
Once in a while you can find exactly what you need at the dollar store. I was so excited they had the right size t-shirt and a color I could work with that day! I put a piece of cardboard inside the shirt so there wouldn't be any paint bleeding through. This also gives you a smooth flat surface to work on.
.jpg)
.jpg)
.jpg)

Congratulations, you're 100 days smarter! Happy 100 days of school!
Thank you so much for visiting my blog!
Project Gallery
Project Gallery
I will be sharing with these great blogs!
Follow me here:
Saturday, March 9, 2013
Girl's Nightgown Made From Men's T-Shirts
Great Way To Upcycle Old T-Shirts
I used two men's undershirts for this peasant-style nightgown. This is for two reasons: first, it's nice to be able to reuse something that was destined to become a rag and second, I could have really messed this up and didn't want to waste money on fabric. Have I mentioned that I'm cheap? I know nothing about making clothes, but I wanted to give this a try and I really love how it turned out..jpg)
I didn't have a pattern to follow, pretty much made it up as I went along as you can see from my rough pattern I fashioned from scrap paper that was laying around! After I got an idea of the size and shape I would need from another of my daughter's shirts, I started cutting.


The back and front of the nightgown was cut from the backs of the t-shirts because these were v-necks and the backs had more surface area.


Line up and pin right sides of fabric together. Sew these top seams.

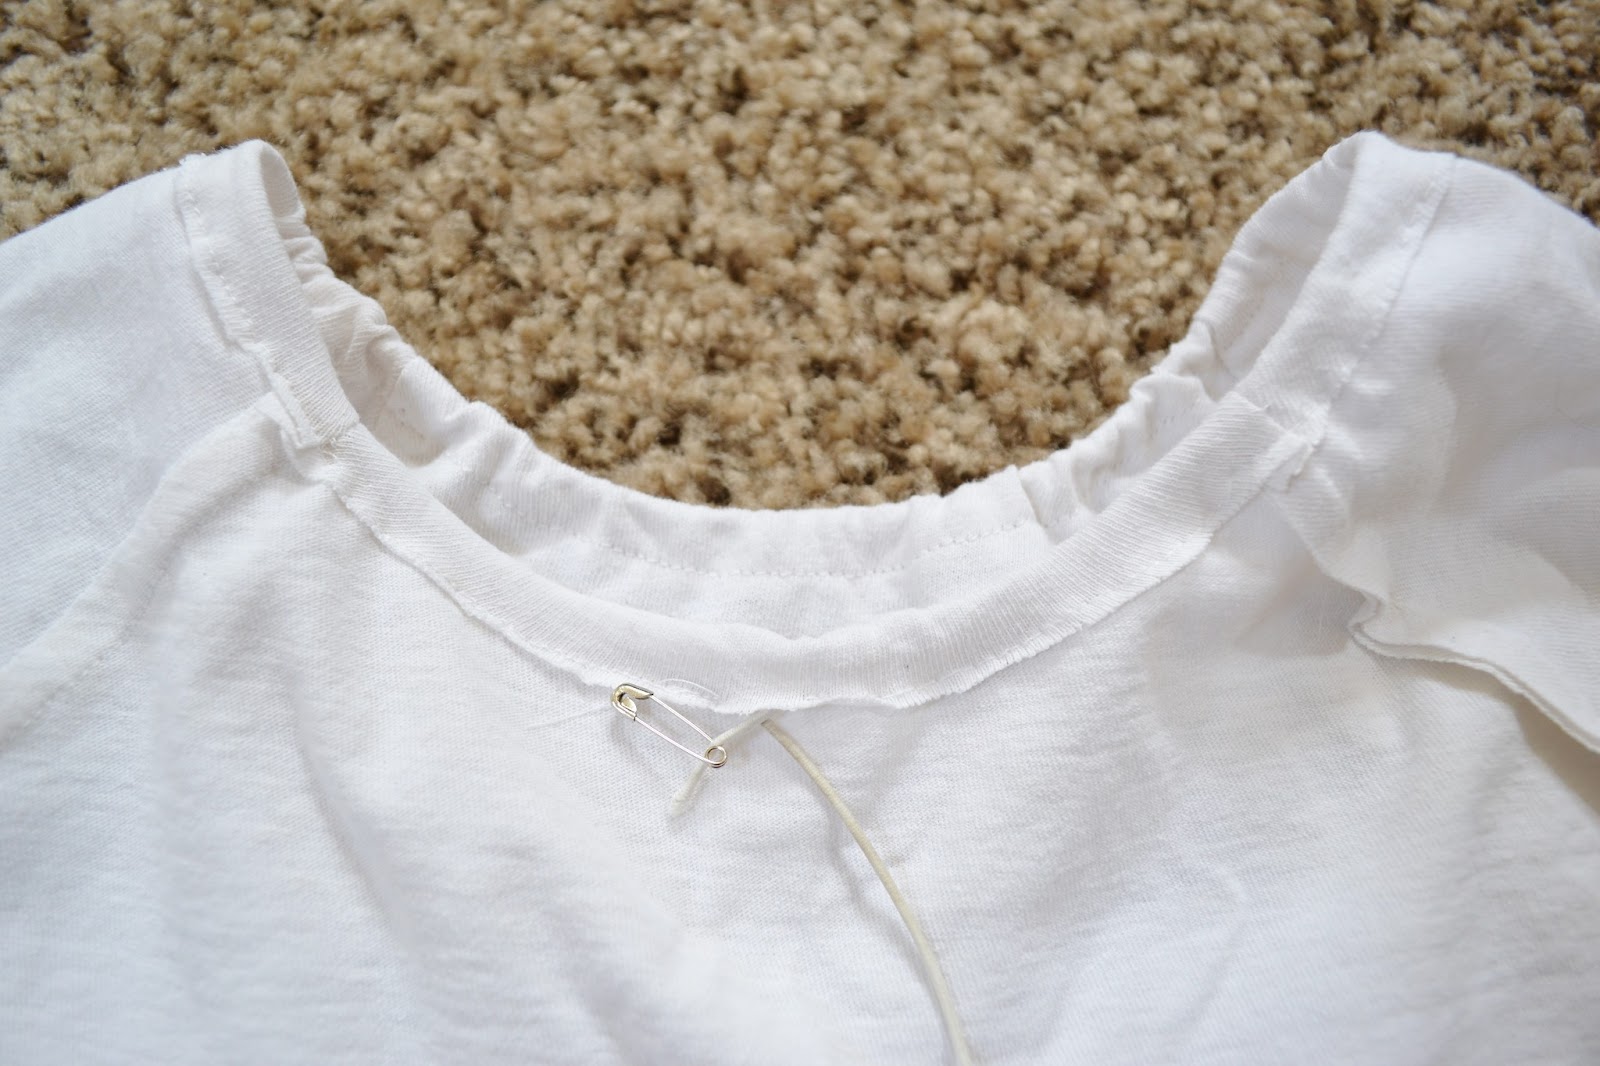
OK, so I wasn't lying when I said I'm an amateur...look at this neckline! Not quite right huh? Believe it or not, I actually did this on purpose because I wasn't really sure how I was going to deal with this part and needed some wiggle room to figure it out.



The gown and sleeves weren't quite as long as I wanted, so I cut strips of fabric to ruffle and attach to bottoms.

My thinking when I used the original seam for the cuffs was to insert elastic in it. I still wanted to do this, so when I attached the ruffle for the sleeves, I sewed very close to the edge making sure there was still room to insert elastic then closed up opening.


I added some decorative ruffle strips in the front and that's it! My daughter calls this her princess pajamas because it looks like what the Disney princesses wear!

